

Fiiinnnneee... I'll swim more. So, I was swimming and swimming and swimming and swimming, and... You get the point, right? For almost 2 months I was at the pool/beach 3 - 4 times a week with no improvement. My splits were still the same. This was getting very frustrating because it was taking away precious time that I could be using to get faster/better at biking or running. YouTube to the rescue! Honestly, I think I've watched at least a dozen videos. Maybe even somewhere between 15 and 20. And I took a couple of pointers from the masters swim coach at the new gym I'm going to (Harbour Island Athletic Club). So, for the last 3 months I have been working on my form, making little tweaks here and there, and I have finally started to make some improvements. So much so that some of my training peeps are noticing! Bryan asked me to send some of the YouTube videos that stuck out to me. So, I sent him a whole email and I thought it would be good to post here as well. Hopefully someone who reads this will find something useful out of all the videos.
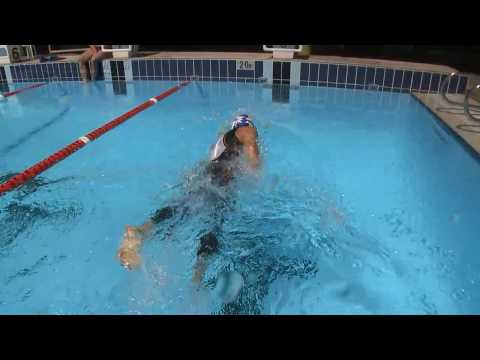
Most of my adjustments came from watching how the pros swim. I only posted one video, but there are a bunch online. When they are swimming race pace and in the open water, they all have a high turnover... there is minimal/no gliding. Some of them swing their arms around, almost horizontal to the water, instead of up and over to get the faster turnover. So, one thing I focus on when I'm doing fast and sprint sets is to make sure that I am constantly moving my arms. Gliding can have the potential to create dead spots and slow you down (see the third link below).
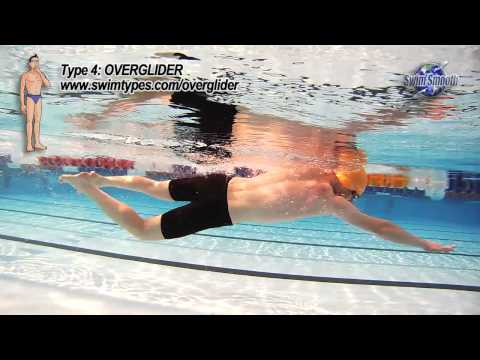
Another adjustment for me was learning that I was an over-glider. This was creating dead spots for me and making me scissor kick when I would take a breath, throwing me off balance and forcing me to work harder on the next stroke to get back up to speed and straighten out. Also, when I would stretch out to try and get more reach, I was lifting my fingertips which was slowing me down.
 |
Discover Your Swim Type!
Hi there and welcome to Swim Smooth! You know, when I left England in 2001 and became head coach to Australia's largest triathlon club, I encountered a ...
| ||||
Preview by Yahoo
| |||||
 |
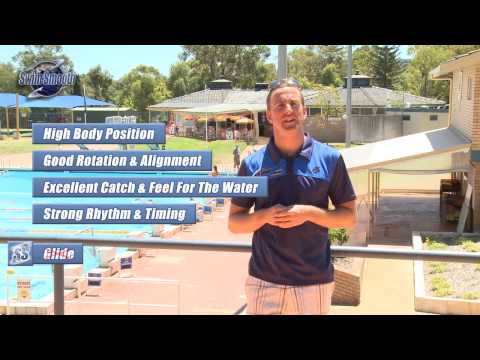
Freestyle Swimming - how to develop a longer more effici...
High stroke rates - How To Develop A Longer Stroke short scrappy stroke technique? lacking stroke length? See related articles: Rhythm, Timing and Strok...
| ||||
Preview by Yahoo
| |||||
 | |||||
Preview by Yahoo
| |||||
The 'catch and pull" and "high elbow" phrases/techniques were very confusing to me. I tried bending my elbow to almost 90 degrees because that's what a lot of the videos and articles made it sound like you had to do for high elbow. But, it's not really 90*. When you are doing faster sets, you want closer to a straight arm with a slight bend, like a 150*, and when you are doing steady work you want a "high elbow" which is really like a 120-130* bend in the elbow.
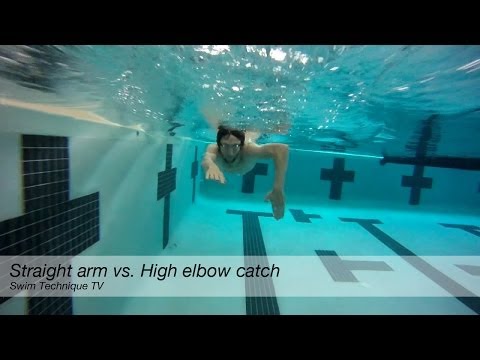
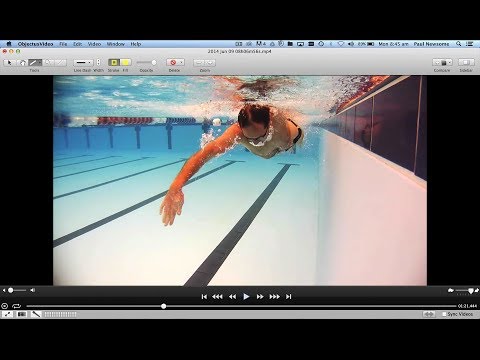
2 more videos showing the difference in stroke styles:
 | |||||
Preview by Yahoo
| |||||
 | |||||
Preview by Yahoo
| |||||
I don't have a videos for my last 2 adjustments. They are just things that I was told to work on by the masters swim coach at Harbour Island. One is working on finishing the stroke, making sure that my thumb comes close to or even brushes the side of my thigh. This is really important when I start to get tired. I have to remember to relax my shoulders and finish my stroke. This usually helps me keep pace. I don't always worry about this if I'm doing sprint sets, but I try to remember because it does help. The other thing is to rotate more. Well, relax my shoulders and rotate more to get into a better position for a longer reach.


